
.png?fit=max&auto=format&n=wMd7bxoi6I_Hm3IN&q=85&s=fe686234f9638b0fbfbc991ca32f7bc3)
Whichever method you choose, always review the final job before publishing. AI-generated content is a starting point, not a finished product.
Start creating a job
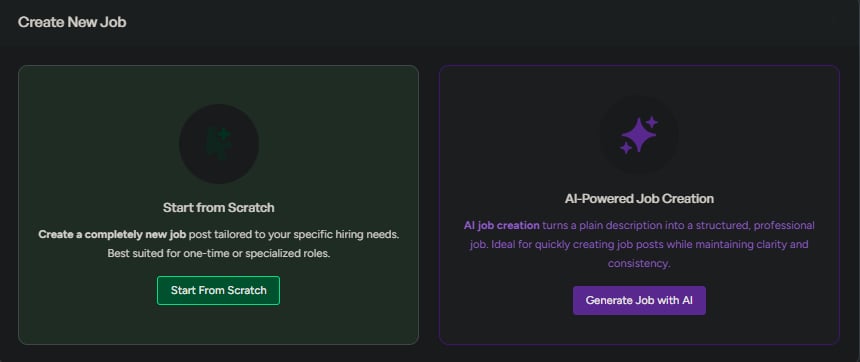
From the Jobs page, click Create New Job and choose how you want to start.Options
- Start from scratch — Best when you already know the job details and want full control over every field.
- Generate with AI — Best when you want to move faster or need help drafting job content.

Method 1 — Start from scratch
Use this when you have a clear job spec ready and want full control over the job setup.Enter job details
Focus on the required fields first, then add supporting details.
Click Continue.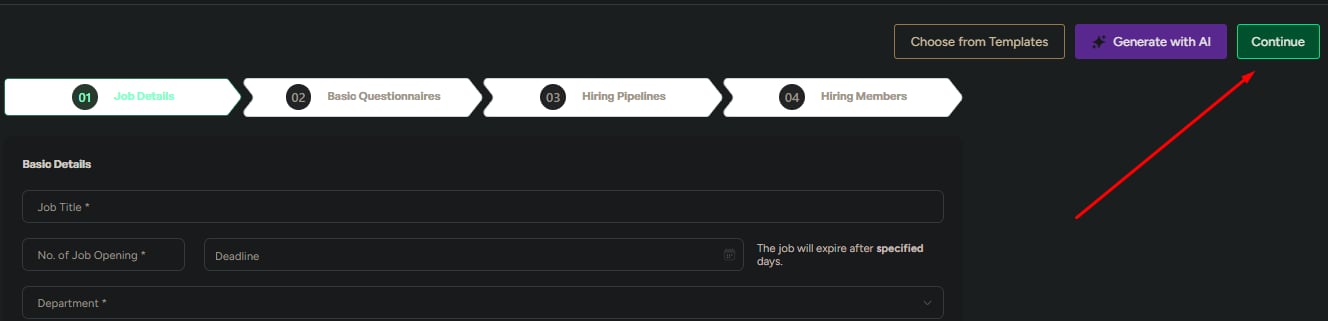
| Priority | Fields |
|---|---|
| Must fill | Job title, number of openings, department, employment type |
| Important | Work type and location, job description |
| Optional | Deadline, industry and job function, position level, education, keywords, salary (recommended) |
Configure the hiring pipeline
Load a pipeline template or build one from scratch. Add, edit, or remove stages to match your hiring process.Click Continue.
Method 2 — Generate with AI
Use this when speed matters or when you need help turning a rough role idea into a usable draft.Enter a prompt
Describe the role, responsibilities, expectations, and ideal candidate in plain language. The more specific you are, the better the output.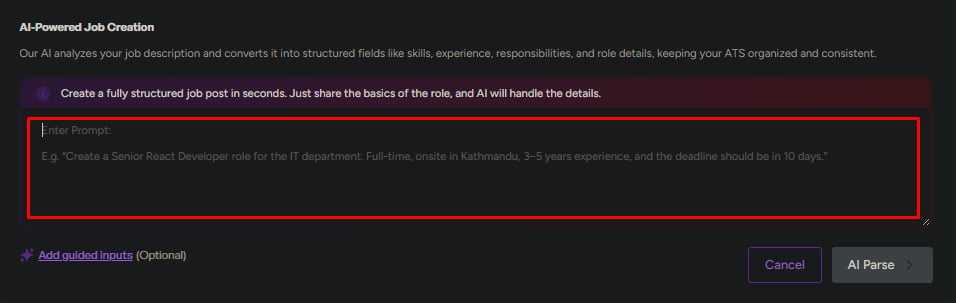
Add guided inputs (optional)
Add optional details to improve the generated draft:
- Company details
- Required skills
- Job benefits
Generate and review
Generate the job content, then review and edit every generated field before continuing.

Choose the right method
- Start from scratch
- Generate with AI
Best when:
- You have an existing job description ready to paste
- The role is highly specialized
- You need exact wording, compliance language, or internal approval text
What to review before publishing
Before publishing, confirm:- Job title and number of openings are correct
- Department, location, and work type are accurate
- Job description matches the role requirements
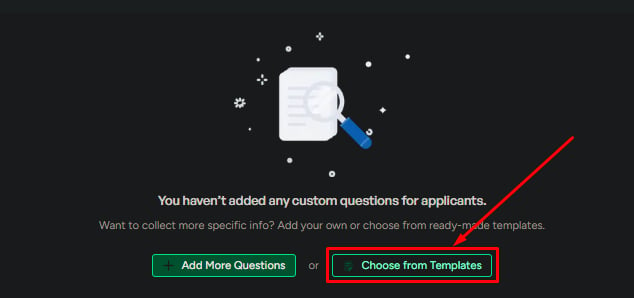
- Questionnaire questions are relevant
- Pipeline stages match your hiring process
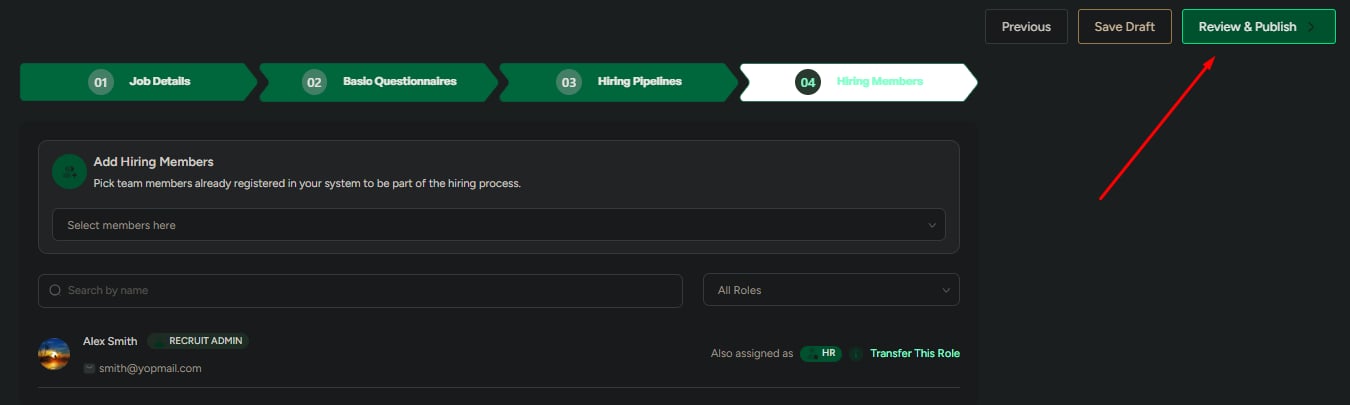
- Hiring members are assigned correctly
- Visibility and publish timing are correct
If anything is unclear, save the job as a draft and review it with the hiring team before publishing.
Related
Manage jobs
Find, filter, and switch views across all your jobs.
View job details & pipeline
Track candidates and pipeline progress for a specific job.